How to Fix the Wi-Fi Option Missing in Windows 11
If the Wi-Fi toggle disappears from Windows 11, check the hardware switch, adapter state, WLAN service, driver, and network reset in a safe order.
- Applies to Windows 11
- 3 min read
- 7 steps
View article illustration
If the Wi-Fi button disappears from Quick Settings and Settings > Network & internet no longer shows Wi-Fi, Windows may not be detecting the wireless adapter correctly. The cause can be as simple as a hardware wireless switch, but it can also be a disabled adapter, stopped WLAN service, driver failure, or hardware problem.
1. Check Airplane mode and hardware controls
Open Quick Settings and make sure Airplane mode is off. Some laptops also have a physical wireless switch or an Fn-key shortcut that disables the Wi-Fi radio at hardware or firmware level.
If the laptop has a wireless indicator light, check whether the key combination changes it.
2. Run the Network and Internet troubleshooter
Open Get Help and run the Network and Internet troubleshooter. This is the current first-line diagnostic Microsoft recommends for common Windows 11 connectivity problems.
3. Check the Wi-Fi adapter in Device Manager
- Open Device Manager.
- Expand Network adapters.
- Look for the wireless/Wi-Fi adapter.
- If it is disabled, right-click it and choose Enable device.
If the adapter has a warning icon, open Properties and note the device status/error code before changing the driver.
If the adapter is missing, select View > Show hidden devices and then Action > Scan for hardware changes.
4. Check the WLAN AutoConfig service
Press Windows Key + R, type services.msc, and press Enter. Find WLAN AutoConfig.
If it is stopped, start the service. Avoid changing unrelated networking services just because an older guide lists them.
5. Install the correct wireless driver
If Wi-Fi disappeared after an update or reinstall, download the current wireless driver from the PC manufacturer. If the affected PC has no Internet connection, download the driver on another device and transfer it using USB storage.
You can also check Settings > Windows Update > Advanced options > Optional updates for a Wi-Fi driver.
6. Uninstall and redetect the adapter
If the adapter is present but broken, right-click it in Device Manager and select Uninstall device. Restart Windows and let it detect the adapter again. Make sure you have a driver available before removing the device on a PC that cannot get online.
7. Use Network reset only after the adapter is detected
Network reset can restore damaged networking configuration, but it cannot make Windows detect physically missing hardware. If the wireless adapter is absent from Device Manager and BIOS/UEFI as well, check the PC manufacturer’s hardware diagnostics or support documentation.
Check BIOS or UEFI only after Windows checks
Some business laptops and desktops allow the internal wireless adapter to be disabled in firmware. If Device Manager cannot see the Wi-Fi hardware at all, check the manufacturer’s BIOS/UEFI documentation for a wireless, WLAN, or onboard-device setting. Do not change unrelated firmware options.
Watch for combined Wi-Fi and Bluetooth failures
Many PCs use one physical module for both Wi-Fi and Bluetooth. If both disappear at the same time, that points more strongly toward the shared wireless module, its driver package, firmware, or hardware power state than toward a single Windows Wi-Fi setting.
Perform a full restart rather than repeatedly toggling Airplane mode. If the module returns only temporarily and disappears again, install the latest OEM chipset/wireless drivers and firmware before considering hardware service.
Official references
Microsoft Support — Fix Wi-Fi connection issues in WindowsOfficial referenceDid this fix it?
This feedback stays on this page; it isn’t sent to us.Related posts
Browse all articles →
How to Fix Wi-Fi Connected but No Internet in Windows 11
Windows 11 connected to Wi-Fi but says No Internet? Check the router, IP configuration, DNS, adapter driver, and network stack in the right order.
How to Use Network Reset in Windows 11 Without Losing Track of VPN Settings
Network Reset can repair stubborn connection problems in Windows 11, but it also removes adapter settings. Prepare first if you use VPNs or virtual adapters.
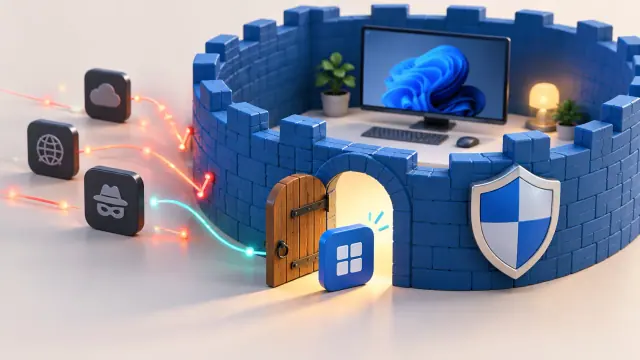
How to Allow Apps Through Windows Firewall
Allow a trusted app through Windows Firewall in Windows 10 or 11, understand private and public network profiles, and avoid opening unnecessary ports.