How to Create a Guest-Style Account on Windows 11
Create a separate standard local account in Windows 11 for temporary users without enabling the built-in Guest account, which Microsoft recommends leaving disabled.
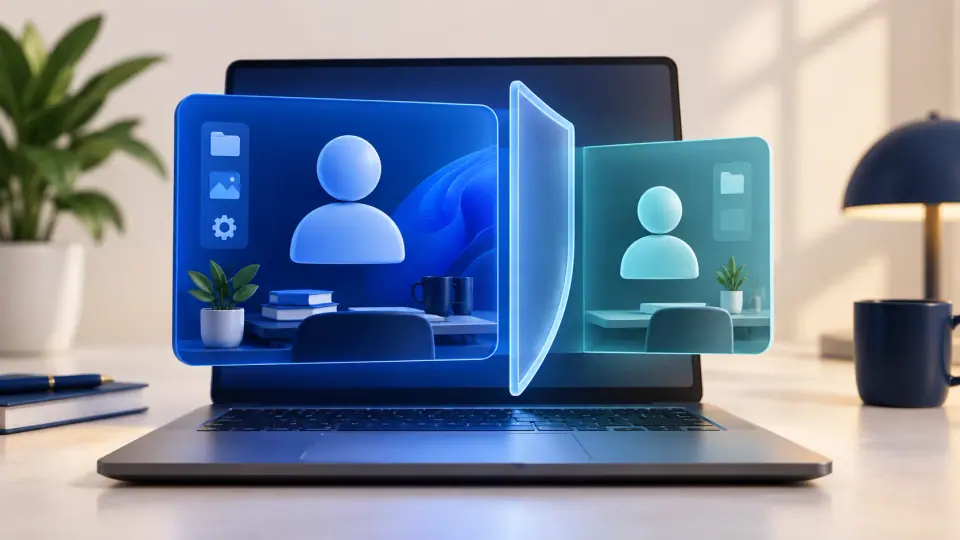
Windows 11 still contains a built-in Guest account, but Microsoft leaves it disabled by default and recommends keeping it disabled because it can create security risks.
For a family member, visitor, contractor, or other temporary user, the safer approach is to create a separate standard user account. That account gets its own profile and does not have administrator rights by default.
Create a local standard account
- Press Windows + I to open Settings.
- Go to Accounts > Other users.
- Under Add other user, select Add account.
- Select I don’t have this person’s sign-in information.
- Select Add a user without a Microsoft account.
- Enter a username, such as
Visitor, and set a password if appropriate. - Finish creating the account.
Windows normally creates the account as a standard user. To verify:
- Return to Settings > Accounts > Other users.
- Expand the new account.
- Select Change account type if needed.
- Make sure the type is Standard User, not Administrator.
What a standard user can and cannot do
A standard account is not the same as the old Guest account. It can create files in its own profile, use installed apps, change many per-user preferences, and browse the web.
It normally cannot perform administrator-level changes without administrator credentials. That is the key protection—not a blanket inability to install or change anything.
The recovered draft overstated these restrictions, so the wording has been corrected.
Keep your own files private
Separate Windows profiles help keep each user’s profile folders isolated. However, files stored in shared or broadly permitted locations can still be accessible to other accounts.
Do not place sensitive files in Public folders or other locations that grant access to all users.
Remove the account later
- Go to Settings > Accounts > Other users.
- Expand the temporary account.
- Next to Account and data, select Remove.
- Confirm the removal.
Removing the account from the PC also removes that account’s local profile data, so copy anything that needs to be kept first.
Why not enable the built-in Guest account?
Microsoft documents the built-in Guest account as disabled by default and considers it a security risk because it can provide anonymous-style access. For ordinary shared-PC use, leave it disabled and create an individual standard account instead.
Official references
- Manage user accounts: https://support.microsoft.com/en-us/windows/security/identity-signin/manage-user-accounts-in-windows
- Local accounts and Guest account: https://learn.microsoft.com/en-us/windows/security/identity-protection/access-control/local-accounts
Related posts
Browse all articles →
How to Check Your Windows 11 Version, Build, and Support Status
Learn how to check your Windows 11 version and build number, then confirm whether your release is still supported by Microsoft.
How to Enable and Use Quick Machine Recovery in Windows 11
Quick Machine Recovery can search Windows Update for a fix when Windows 11 cannot boot. Here is how to enable and use it.
How to Disable Background Apps in Windows 10
Control which supported Windows 10 apps can run in the background, reduce unnecessary activity, and understand which desktop apps are not affected by the Background apps privacy setting.