How to Dual Boot Windows and Linux on the Same PC
Prepare a Windows PC for a Windows-and-Linux dual boot, protect your data, handle BitLocker correctly, and use the Linux installer’s supported alongside-Windows option when available.
- 3 min read
- 7 steps
View article illustration
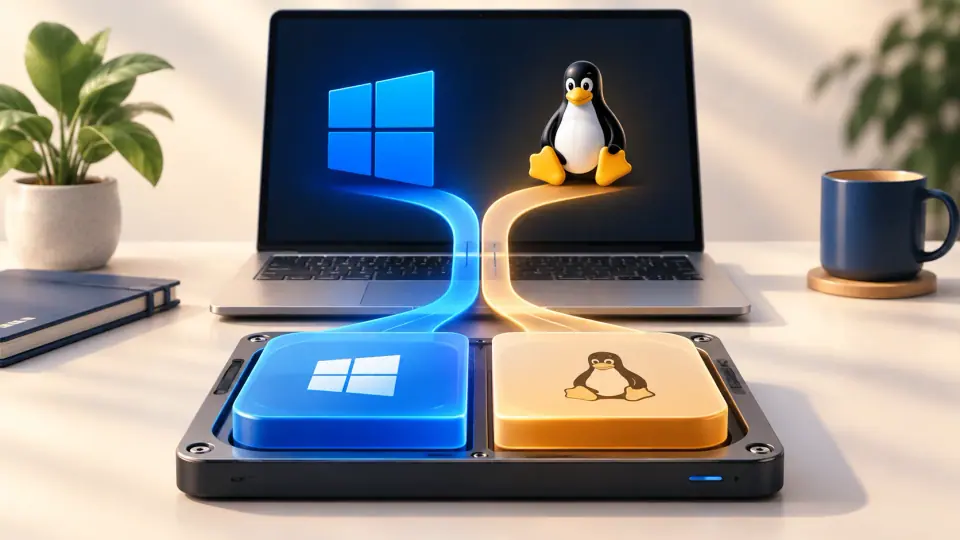
Dual booting lets you keep Windows and Linux on the same PC and choose an operating system at startup. It also changes disk partitions and boot configuration, so a full backup is essential before you begin.
This guide uses Ubuntu as the Linux example because Ubuntu publishes current documentation for installing alongside Windows. Other distributions can differ.
1. Back up Windows first
Before resizing partitions or changing boot configuration:
- back up important files to another device or cloud location;
- make sure you can sign in to your Microsoft account if BitLocker/device encryption recovery keys are stored there;
- create Windows recovery media if the PC is important to you.
2. Check BitLocker or Device Encryption
Ubuntu’s installer warns that it cannot safely install alongside an encrypted Windows installation when BitLocker prevents it from reading the disk layout.
If BitLocker is enabled on the Windows partition, read the current Ubuntu guidance before proceeding. You may need to decrypt the Windows volume before using the automatic Install alongside Windows option.
Keep the BitLocker recovery key even if you temporarily disable encryption.
3. Make room for Linux
You can shrink the Windows partition from Disk Management:
- Right-click Start > Disk Management.
- Right-click the Windows data partition you want to shrink.
- Select Shrink Volume.
- Leave the new space unallocated for the Linux installer.
Do not format the unallocated space in Windows unless your Linux distribution specifically instructs you to.
4. Create Linux installation media
Download the ISO from the Linux distribution’s official website and use the distribution’s recommended USB creation method.
For Ubuntu, a USB drive of 12 GB or larger is recommended by current documentation.
5. Boot the USB in UEFI mode
Restart the PC and use the manufacturer’s boot menu key to select the USB device. Modern Windows systems normally use UEFI.
Do not disable Secure Boot automatically. Current Ubuntu releases support Secure Boot on compatible hardware. Change firmware settings only when your Linux distribution’s documentation says it is necessary.
6. Use “Install alongside Windows” when offered
During Ubuntu installation, choose Install Ubuntu alongside another operating system/Windows when the installer detects the Windows installation and offers that option.
The installer can then allocate space while preserving Windows. Manual partitioning is for advanced users who understand EFI system partitions, filesystem layout, and bootloaders.
The recovered draft prescribed a fixed /dev/sda GRUB target and a swap partition equal to RAM. Those rules are not appropriate for every modern PC—NVMe drives use different device names, and current Ubuntu installations do not require that old swap-partition formula.
7. Test both operating systems
After installation:
- Reboot and confirm the boot menu appears.
- Start Linux and verify networking, graphics, sound, and updates.
- Restart into Windows and confirm Windows still boots normally.
- Re-enable encryption only after checking the relevant Windows/Ubuntu guidance and confirming your recovery keys are safe.
Official references
- Ubuntu installation guide: https://ubuntu.com/desktop/docs/en/24.04/tutorial/install-ubuntu-desktop/
- Ubuntu BitLocker guidance: https://ubuntu.com/desktop/docs/en/24.04/reference/bitlocker-during-ubuntu-installation/
Related posts
Browse all articles →
How to Check the 2023 Secure Boot Certificate Status in Windows 11
Some PCs still use older Secure Boot certificates. Learn how to check the 2023 certificate status and what to do if Windows reports an incomplete update.
How to Disable Startup Apps in Windows 11 for Faster Boot
Use Windows 11 Settings or Task Manager to stop nonessential apps from launching when you sign in and identify high-impact startup items.

How to Boot Windows 10 into Safe Mode
Step-by-step Windows 10 Safe Mode instructions using Windows Recovery Environment, including Safe Mode with Networking and recovery-media options.