Fix a Missing Safely Remove Hardware Icon in Windows 7/Vista (Historical)
Historical Windows 7/Vista troubleshooting for the Safely Remove Hardware icon or dialog when removable devices are connected.
- Applies to Windows 7
- 2 min read
View article illustration
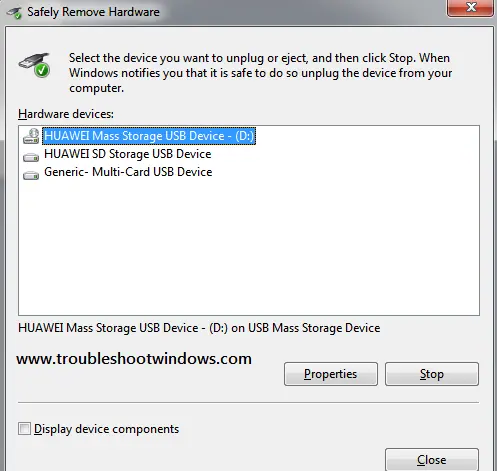
Historical support note: This article covers Windows 7 and Vista. Current Windows releases still recommend safely ejecting removable storage, but the taskbar UI is different.
Before troubleshooting, confirm that Windows actually detects a removable device. The Safely Remove Hardware icon may not appear when there is nothing eligible to eject.
Open the legacy eject dialog directly
On Windows 7/Vista, press Windows key + R and run:
RunDll32.exe shell32.dll,Control_RunDLL hotplug.dllThis opens the legacy Safely Remove Hardware dialog on systems where that Control Panel component is available.
If you need it frequently, you can create a desktop shortcut using the same command.
If the icon or dialog still does not work
- Reconnect the removable device and confirm it appears in Device Manager/Disk Management.
- Check the notification-area settings to make sure Windows is not hiding the icon.
- Run System File Checker from an elevated Command Prompt:
sfc /scannow- If the problem began after a system change, use System Restore to return to a known-good configuration.
Do not simply pull a storage device while it may still be writing data. Microsoft continues to recommend using the eject/safely-remove function for removable storage.
Official references
- Microsoft: Safely remove hardware in Windows: https://support.microsoft.com/en-us/windows/hardware/safely-remove-hardware-in-windows
- Microsoft: Use System File Checker: https://support.microsoft.com/en-us/windows/experience/backup-recovery/use-the-system-file-checker-tool-to-repair-missing-or-corrupted-system-files
- Microsoft Windows lifecycle status: https://support.microsoft.com/en-us/windows/deployment/updates-lifecycle/what-does-it-mean-if-windows-isn-t-supported
Related posts
Browse all articles →
Fix Hardware Devices Not Detected in Windows 8, 7, Vista, or XP — Historical Guide
Historical device-detection troubleshooting for older Windows versions using connection checks, Device Manager, OEM drivers, and hardware diagnostics.
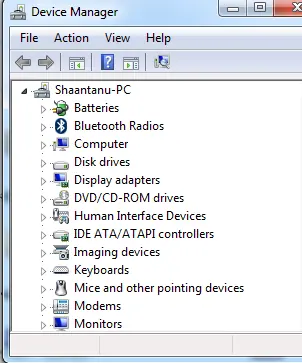
Fix an Empty Device Manager in Windows 7, Vista, or XP — Historical Guide
Historical troubleshooting for Device Manager opening with no devices listed, using service checks, system-file repair, System Restore, and profile testing without broad registry ACL changes.

Fix DRIVER_POWER_STATE_FAILURE (0x9F) in Windows 8 or 7 (Historical)
Historical troubleshooting for DRIVER_POWER_STATE_FAILURE (0x9F) on Windows 8/7, focusing on the device, driver, firmware, or power transition responsible for the crash.