How to Create Windows 8 Recovery or Repair Media (USB and CD/DVD) — Historical
Historical Windows 8 guide distinguishing a USB recovery drive from a separate CD/DVD system repair disc.

Historical support note: This article documents Windows 8 recovery media. The USB Recovery Drive tool remains conceptually similar in later Windows versions, but the UI and recovery content have changed.
Windows 8 offered more than one kind of repair media. The original article blended them together, so it is important to distinguish them.
Option 1: Create a USB recovery drive
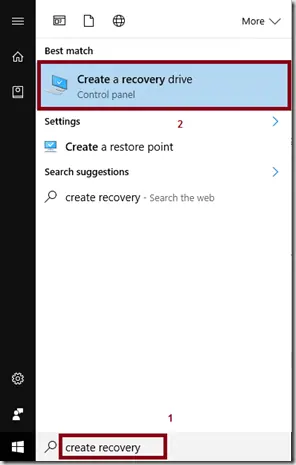
- From Start, search for Recovery or Create a recovery drive.
- Open Create a recovery drive and approve the administrator prompt.
- If the PC offers Copy the recovery partition from the PC to the recovery drive, choose it only if you want the OEM recovery image included.
- Connect a USB drive large enough for the size Windows reports.
- Select the correct drive and create the recovery media.
Warning: The USB drive is erased during creation. Copy anything important off it first.
Do not rely on the old 256 MB figure in the original article. The required size varies, especially when an OEM recovery image is copied.
A recovery drive is for Windows recovery/reinstallation. It is not a backup of your personal files.
Option 2: Create a CD/DVD system repair disc
A system repair disc is a separate legacy tool from the USB recovery drive. On Windows versions/configurations where it is available, you can launch the repair-disc wizard (for example with recdisc.exe) and burn bootable recovery tools to optical media.
It does not turn a CD/DVD into the same OEM recovery drive and does not include your personal files.
Official references
- Microsoft: Recovery Drive (current tool behavior and data warning): https://support.microsoft.com/en-gb/windows/experience/backup-recovery/recovery-drive
- Microsoft: Surface/Windows 8-era USB recovery-drive workflow: https://support.microsoft.com/en-us/surface/drivers-firmware/creating-and-using-a-usb-recovery-drive-for-surface
- Microsoft Windows lifecycle status: https://support.microsoft.com/en-us/windows/deployment/updates-lifecycle/what-does-it-mean-if-windows-isn-t-supported
Related posts
Browse all articles →
Fix: Windows 8 Store/Metro Apps Show a Splash Screen but Do Not Launch (Historical)
Historical Windows 8 troubleshooting for Store/Metro apps that display a splash screen and immediately fail to open.
How to Create a Windows 10 Recovery USB
Create a Windows 10 recovery drive on an empty USB device and understand what the recovery drive does and does not back up.
Fix: Windows Recovery Environment (WinRE) Won't Open in Windows 10
Troubleshoot Windows 10 when Advanced startup or Windows Recovery Environment will not open, using supported WinRE checks and recovery media.