How to Create a Windows 10 Recovery USB
Create a Windows 10 recovery drive on an empty USB device and understand what the recovery drive does and does not back up.
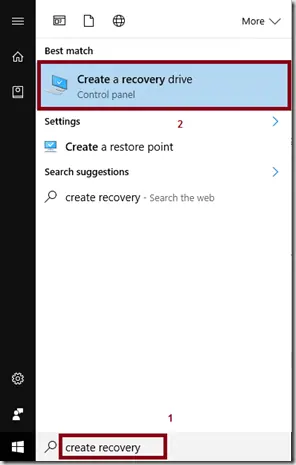
A Windows recovery drive gives you a bootable copy of Windows Recovery Environment and, when you choose to include system files, can also help reinstall Windows on the PC it was created for.
It is useful when Windows will not start, but it is not a backup of your personal files. Back up documents, photos, and other personal data separately.
Windows 10 support note: Microsoft ended normal support for Windows 10 on October 14, 2025. Microsoft still documents Recovery Drive for Windows 10 and recommends recreating recovery media periodically so it contains newer recovery files.
Create the recovery drive
- Connect an empty USB drive. Everything already on that drive will be erased.
- Open Start, search for Recovery Drive, and open it.
- Approve the User Account Control prompt if it appears.
- Leave Back up system files to the recovery drive selected if you want the drive to support reinstalling Windows.
- Select Next.
- Choose the USB drive you want to use.
- Select Next > Create.
- Wait for Windows to copy the required files, then select Finish.
The required USB capacity can vary, especially when system files are included. Use the size Windows asks for rather than relying on an old fixed-size recommendation.
What a recovery drive can do
If the PC cannot start, boot from the recovery USB to open Windows Recovery Environment. Depending on how the drive was created, you can use troubleshooting tools or choose Recover from a drive to reinstall Windows.
A recovery drive does not include your personal documents, photos, or other user files. Keep a separate file backup.
Official reference
Microsoft Recovery Drive: https://support.microsoft.com/en-us/windows/experience/backup-recovery/recovery-drive
Related posts
Browse all articles →
How to Batch Rename Files in Windows with PowerRename and PowerShell
Use Microsoft PowerToys PowerRename or PowerShell to preview and apply advanced bulk file-renaming rules in Windows 10 and 11.
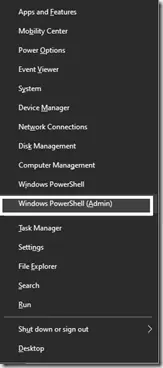
How to Replace PowerShell with Command Prompt in the Windows 10 Win+X Menu (Historical)
Historical Windows 10 instructions for switching the Win+X menu from Windows PowerShell to Command Prompt. This setting does not describe the current Windows 11 menu.

How to Boot Windows 10 into Safe Mode
Step-by-step Windows 10 Safe Mode instructions using Windows Recovery Environment, including Safe Mode with Networking and recovery-media options.