How to Enable Hyper-V in Windows 10 Technical Preview (Historical)
A historical guide to enabling Hyper-V in the Windows 10 Technical Preview, with current Hyper-V requirements included for context.
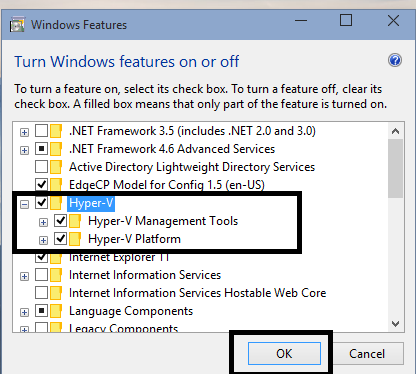
This article documents how Hyper-V was enabled in the Windows 10 Technical Preview in 2015. The preview build is obsolete, and Windows 10 reached end of normal support on October 14, 2025.
The Control Panel method remains recognizable on later versions of Windows, but current systems should follow Microsoft’s current Hyper-V requirements and installation guidance.
Check the requirements first
Hyper-V requires hardware virtualization support. Microsoft currently lists the following baseline requirements for Hyper-V on Windows clients:
- Windows 10 Pro or Enterprise, or Windows 11 Pro or Enterprise
- A 64-bit processor with Second Level Address Translation (SLAT)
- VM Monitor Mode extensions
- Virtualization enabled in BIOS/UEFI
- At least 4 GB of RAM
Hyper-V is not available as the full client role on Home editions.
You can run the following command to inspect the Hyper-V requirement lines on a supported Windows system:
systeminfo.exeHistorical Control Panel method
On the Windows 10 Technical Preview, the feature could be enabled as follows:
- Open Start and search for Programs and Features.
- Select Turn Windows features on or off.
- Select Hyper-V.
- Select OK.
- Restart the PC when Windows asks you to do so.
After the restart, Windows finishes configuring the feature and Hyper-V Manager becomes available.
Current alternative
Microsoft also supports enabling Hyper-V from an elevated PowerShell session on supported editions:
Enable-WindowsOptionalFeature -Online -FeatureName Microsoft-Hyper-V -AllRestart when prompted.
Official references
- Microsoft Hyper-V installation: https://learn.microsoft.com/en-us/windows-server/virtualization/hyper-v/get-started/install-hyper-v
- Microsoft Hyper-V requirements: https://learn.microsoft.com/en-us/windows-server/virtualization/hyper-v/host-hardware-requirements
Related posts
Browse all articles →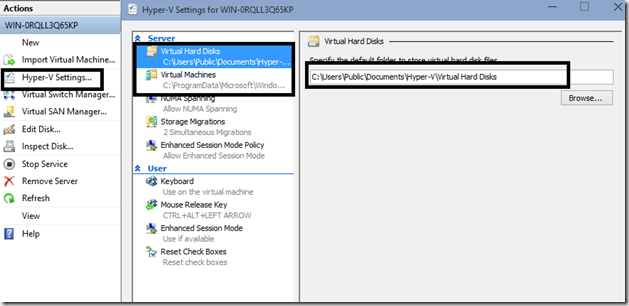
How to Set Up Hyper-V in Windows 10 Insider Preview (Historical)
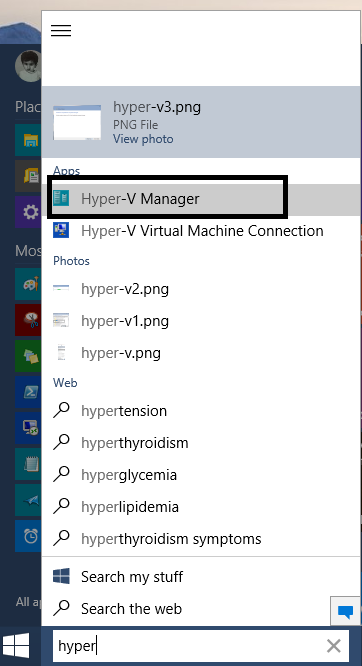
A historical Windows 10 Insider Preview guide to opening Hyper-V Manager, connecting to the local host, and configuring default virtual-machine storage paths.
How to Create a Virtual Switch in Hyper-V on Windows 10
Create an external, internal, or private Hyper-V virtual switch in Windows 10 and attach virtual machines to the network you need.
How to Apply a Hyper-V Checkpoint in Windows 10
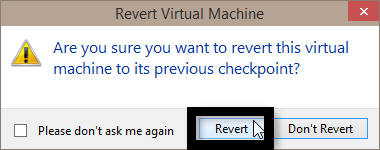
Restore a Hyper-V virtual machine to an existing checkpoint in Windows 10 and understand the difference between Apply and Create Checkpoint and Apply.