How to Apply a Hyper-V Checkpoint in Windows 10
Restore a Hyper-V virtual machine to an existing checkpoint in Windows 10 and understand the difference between Apply and Create Checkpoint and Apply.
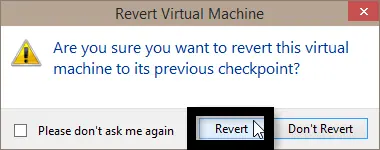
Hyper-V checkpoints let you return a virtual machine to an earlier state. They are useful before software changes, updates, or testing, but they are not a replacement for a proper backup strategy.
Windows 10 support note: Windows 10 reached end of normal support on October 14, 2025. Microsoft still documents the same checkpoint workflow for Hyper-V on Windows 10 and Windows 11.
Apply an existing checkpoint
- Open Hyper-V Manager.
- Under Virtual Machines, select the VM.
- In the Checkpoints section, find the checkpoint you want to use.
- Right-click that checkpoint and select Apply.
- Choose one of the available actions:
- Create Checkpoint and Apply — saves the VM’s current state as a new checkpoint before applying the older one.
- Apply — applies the selected checkpoint without first saving the current state.
- Cancel — makes no change.
After a production checkpoint is applied, the VM may be in an off state and need to be started again.
PowerShell option
To list checkpoints:
Get-VMCheckpoint -VMName "VMName"To apply one:
Restore-VMCheckpoint -Name "Checkpoint Name" -VMName "VMName" -Confirm:$falseBe certain you selected the intended checkpoint before restoring, because applying it changes the VM’s state.
Official reference
Microsoft Learn: https://learn.microsoft.com/en-us/windows-server/virtualization/hyper-v/checkpoints
Related posts
Browse all articles →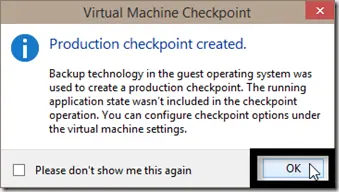
How to Create a Hyper-V Checkpoint in Windows 10
Create a Hyper-V checkpoint in Windows 10 and understand the difference between production and standard checkpoints.
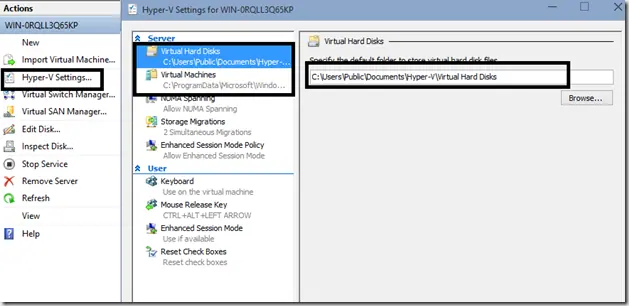
How to Set Up Hyper-V in Windows 10 Insider Preview (Historical)
A historical Windows 10 Insider Preview guide to opening Hyper-V Manager, connecting to the local host, and configuring default virtual-machine storage paths.
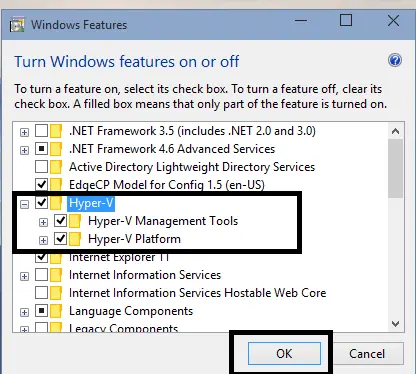
How to Enable Hyper-V in Windows 10 Technical Preview (Historical)
A historical guide to enabling Hyper-V in the Windows 10 Technical Preview, with current Hyper-V requirements included for context.