How to Create a Hyper-V Checkpoint in Windows 10
Create a Hyper-V checkpoint in Windows 10 and understand the difference between production and standard checkpoints.
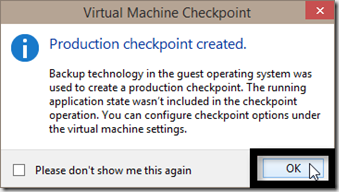
Hyper-V checkpoints save a virtual machine state so that you can return to it after testing software, installing an update, or changing the VM configuration.
Windows 10 support note: Windows 10 reached end of normal support on October 14, 2025. Microsoft still documents Hyper-V checkpoints for Windows 10 and Windows 11.
Standard vs production checkpoints
Windows 10 Hyper-V supports two checkpoint types:
- Production checkpoint — creates a data-consistent checkpoint using VSS on Windows guests or file-system freeze on supported Linux guests. It does not save the VM’s running memory state. Production checkpoints are the default in current Hyper-V guidance.
- Standard checkpoint — captures the VM and its memory state. It is convenient for lab/test scenarios but is not equivalent to an application-consistent backup.
Create a checkpoint in Hyper-V Manager
- Open Hyper-V Manager.
- Select the virtual machine.
- Right-click the VM and select Checkpoint.
- Wait for the checkpoint to appear in the Checkpoints section.
- Rename it if you want a clearer description of what the checkpoint represents.
Hyper-V does not require you to start the VM just to create a checkpoint; whether the VM can be checkpointed depends on its state and configuration.
Choose the checkpoint type
- Right-click the VM and select Settings.
- Under Management, select Checkpoints.
- Choose Production checkpoints, Standard checkpoints, or the production-only/fallback behavior available for that VM.
- Select Apply > OK.
PowerShell option
Create the configured checkpoint type with:
Checkpoint-VM -Name "VMName"View checkpoints with:
Get-VMCheckpoint -VMName "VMName"Official reference
Microsoft Learn: https://learn.microsoft.com/en-us/windows-server/virtualization/hyper-v/checkpoints
Related posts
Browse all articles →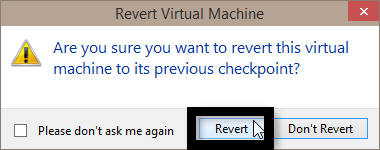
How to Apply a Hyper-V Checkpoint in Windows 10
Restore a Hyper-V virtual machine to an existing checkpoint in Windows 10 and understand the difference between Apply and Create Checkpoint and Apply.
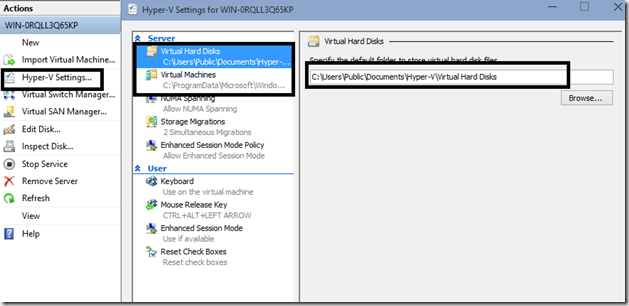
How to Set Up Hyper-V in Windows 10 Insider Preview (Historical)
A historical Windows 10 Insider Preview guide to opening Hyper-V Manager, connecting to the local host, and configuring default virtual-machine storage paths.
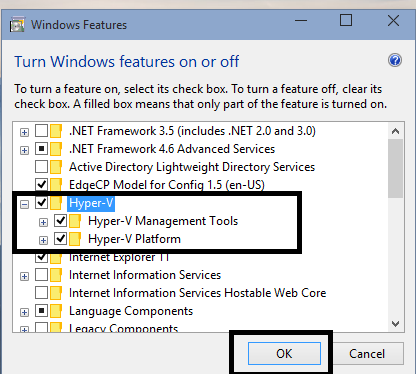
How to Enable Hyper-V in Windows 10 Technical Preview (Historical)
A historical guide to enabling Hyper-V in the Windows 10 Technical Preview, with current Hyper-V requirements included for context.