How to Create a Virtual Switch in Hyper-V on Windows 10
Create an external, internal, or private Hyper-V virtual switch in Windows 10 and attach virtual machines to the network you need.
Hyper-V virtual switches connect virtual machines to networks. Depending on the switch type, a VM can communicate with the physical network, only with the host and other VMs, or only with other VMs on the same host.
Windows 10 support note: Windows 10 reached end of normal support on October 14, 2025. Microsoft still documents the same Hyper-V virtual-switch concepts for Windows 10 and Windows 11.
Choose the switch type
- External — connects VMs to the physical network through a host network adapter.
- Internal — connects VMs to each other and to the host, but not directly to the external physical network.
- Private — connects VMs to each other only on that Hyper-V host.
Create a virtual switch with Hyper-V Manager
- Open Hyper-V Manager as an administrator.
- In the Actions pane, select Virtual Switch Manager.
- Choose External, Internal, or Private.
- Select Create Virtual Switch.
- Enter a descriptive name.
- If you selected External, choose the physical network adapter the switch should use.
- Decide whether the management operating system should continue sharing that network adapter.
- Select Apply > OK.
Creating or changing an external switch can briefly interrupt the host’s network connection while Hyper-V reconfigures the adapter.
Connect a VM to the switch
- In Hyper-V Manager, right-click the virtual machine and select Settings.
- Select Network Adapter.
- Choose the virtual switch from the Virtual switch list.
- Select Apply > OK.
Official reference
Microsoft Learn: https://learn.microsoft.com/en-us/windows-server/virtualization/hyper-v/get-started/create-a-virtual-switch-for-hyper-v-virtual-machines
Related posts
Browse all articles →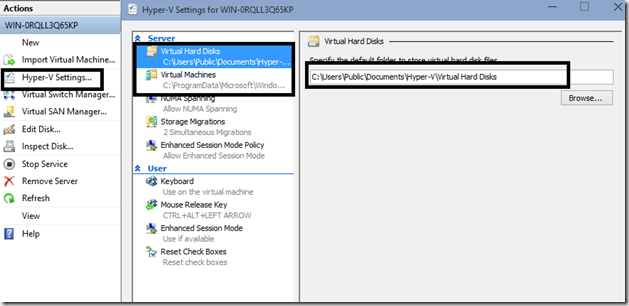
How to Set Up Hyper-V in Windows 10 Insider Preview (Historical)
A historical Windows 10 Insider Preview guide to opening Hyper-V Manager, connecting to the local host, and configuring default virtual-machine storage paths.
How to Enable Hyper-V in Windows 10 Technical Preview (Historical)
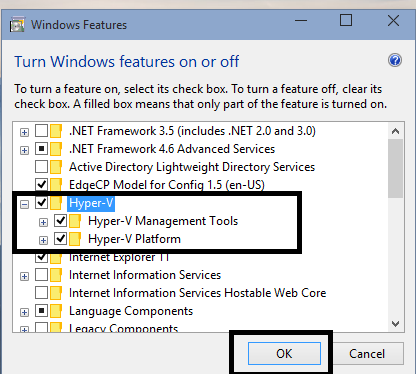
A historical guide to enabling Hyper-V in the Windows 10 Technical Preview, with current Hyper-V requirements included for context.
How to Apply a Hyper-V Checkpoint in Windows 10
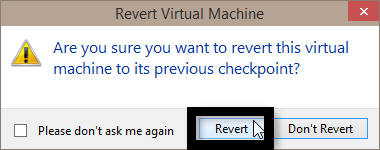
Restore a Hyper-V virtual machine to an existing checkpoint in Windows 10 and understand the difference between Apply and Create Checkpoint and Apply.