Calibrate Your Display with Display Color Calibration in Windows 7 and 8 — Historical Guide
Historical Windows 7/8 guide to using Display Color Calibration for gamma, brightness, contrast, color balance, and ClearType.
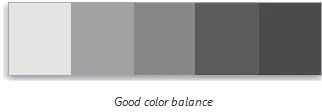
Historical support note: This article documents the Windows 7 and Windows 8 calibration workflow. Both releases are unsupported, although Windows still includes display color-calibration tools in current versions.
Windows includes a Display Color Calibration wizard that can help you tune gamma, brightness, contrast, and color balance. The original guide was broadly correct, but running the wizard as administrator is not normally required.
Open the calibration wizard
Windows 7
- Open Start.
- Search for Calibrate display color.
- Open the result.
Windows 8
- Open the Start screen.
- Search for Calibrate display color.
- Open the result and follow the wizard.
Work through the calibration stages
The wizard walks through these adjustments:
- Gamma: adjust until the sample dots are neither too obvious nor completely lost.
- Brightness: use the monitor or laptop controls so dark details remain visible without making black areas look washed out.
- Contrast: on displays that expose a contrast control, increase it without clipping bright detail.
- Color balance: adjust the red, green, and blue sliders until neutral gray areas do not show a color cast.
Do not chase a single “perfect” setting from a screenshot. Room lighting, panel type, factory calibration, and display controls differ.
Improve text rendering
At the end, Windows can launch the ClearType Text Tuner. Use it if text looks soft or uneven after calibration.
For color-critical photo, design, or print work, a hardware colorimeter and a proper ICC profile are more reliable than visual calibration alone.
Official references
- Microsoft: Change display brightness and color in Windows: https://support.microsoft.com/en-us/windows/hardware/display-graphics/change-display-brightness-and-color-in-windows
- Microsoft Windows lifecycle status: https://support.microsoft.com/en-us/windows/deployment/updates-lifecycle/what-does-it-mean-if-windows-isn-t-supported
Related posts
Browse all articles →
Troubleshoot Flickering or Lines on a PC Display — Windows 8/7/Vista/XP Historical Guide
Historical troubleshooting for flickering, scrambled graphics, or lines across a PC display, separating driver/app faults from cables, monitors, GPUs, and laptop display hardware.
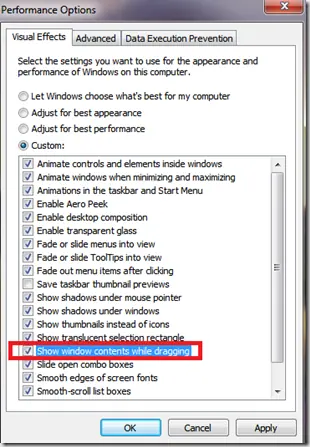
Fix Windows Turning Transparent While Dragging or Resizing (Windows XP–8, Historical)
Historical troubleshooting for Windows XP through Windows 8 when window contents disappear or appear transparent while dragging or resizing.
Recover Data from a Drive That Suddenly Shows as RAW in Windows (Historical)
Safer data-first troubleshooting for a Windows drive or partition that suddenly appears as RAW and cannot be opened.